


Create Simple Tooltip Using CSS3
Last Updated : Jul 1, 2023
In this tutorial we will show you how to create simple tooltip using CSS3, tooltip is a great way to explain a link or a button in a webpage if you want to give some small additional info of something so you can use tooltip and customise with css in your own way.
You may also like CSS3 animated headlines.

CHECK OUT THIS TUTORIAL LIVE DEMO →
To Create Tooltip Using CSS3 It Takes Only One Step:-
- Make a HTML file and define markup and styling
Step 1. Make a HTML file and define markup and styling
We make a HTML file and save it with a name tooltip.html
<html>
<head>
<style>
.tooltip
{
 display: inline;
 position: relative;
}
.tooltip:hover:after
{
 background: #333;
 background: rgba(0,0,0,.8);
 border-radius: 5px;
 bottom: 26px;
 color: #fff;
 content: attr(title);
 left: 20%;
 padding: 5px 15px;
 position: absolute;
 z-index: 98;
 width: 220px;
}
.tooltip:hover:before
{
 border: solid;
 border-color: #333 transparent;
 border-width: 6px 6px 0 6px;
 bottom: 20px;
 content: "";
 left: 50%;
 position: absolute;
 z-index: 99;
}
</style>
</head>
<body>
<div id="wrapper">
<a title="Create Simple Tooltip Using CSS3" class="tooltip">Some Sample CSS3 Tooltip</a>
</div>
</body>
</html>
In this step we create an anchor tag and insert 'title' attribute this is our tooltip text which is displayed as a tooltip.
Now let's come to our CSS we use CSS3 hover:after and hover:before to apply styling in hover:after we use simple css to style the tooltip and in hover:before we create a simple triangle using css just to give more styling to our tooltip.
You may also like CSS3 fancy animated buttons.
Thats all, this is how to create simple tooltip using CSS3. You can customize this code further as per your requirement. And please feel free to give comments on this tutorial.
I hope this tutorial on css tooltip helps you and the steps and method mentioned above are easy to follow and implement.
 About Pragati
Experienced coding content writer who enjoys breaking down complex concepts in programming languages like Java, Python, C, and C++. Over three years of experience producing interesting and relevant content for a variety of entities. Committed to providing concise and easy-to-understand articles that assist readers in easily understanding technology and industry trends in the world of coding and software development.
RELATED TUTORIALS
 Create Simple Tooltip Using CSS3
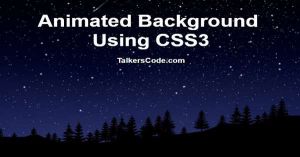 Create Animated Background Using CSS3
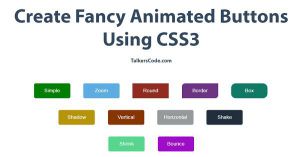 Create Fancy Animated Buttons Using CSS3
 Create Simple Web Crawler Using PHP And MySQL
 Create Simple Notification Bar Using jQuery And CSS
 Create A Simple PageView Counter Using PHP and MySQL
 Create Simple Responsive Navigation Menu Using CSS
 Create Simple Image Editor Using jQuery, HTML5 And CSS
 Create A Simple Instant Comment System Using Ajax
 Create A Simple Login Form On Popup Box Using jQuery