


WordPress Insert Data Into Custom Table
Last Updated : Mar 11, 2024
IN - WordPress | Written & Updated By - Ashish

In this article we will show you the solution of WordPress insert data into custom table, a powerful method for organizing data and making it easily understandable to your audience is to present it in brief tables.
Tables can be used to compare different goods or services or to present significant statistics in an easily understandable format.
Step By Step Guide On WordPress Insert Data Into Custom Table :-
- From the official WordPress repository, you can download the Visualizer WordPress plugin for nothing. To get started with Visualizer, you must first install the plugin.

- There will be a fresh Visualizer section in the sidebar of your WordPress dashboard once Visualizer has been installed and activated.
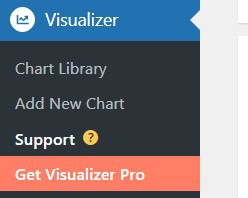
- Choose Add New from the tabs just at top of a Visualizer interface to start adding new tables to your WordPress website. Then select the tables option:

- Just on the right side of a Visualizer interface, under Chart Data, click Advanced before you start. You must now choose General settings to, Name your table, Include a brief explanation (this is optional)
- Enter The Chart Data section just on right and select Manual Data, then Edit Data. By directly typing into the table, visitors can add content in this area. Depending on the editor you want to use, you can choose between text and simple.
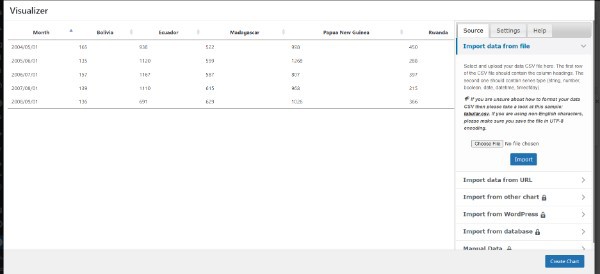
- The URL for the CSV file can also be pasted into a table you create on Google Sheets.
- However, if you employ the CSV import technique, don't forget to include a data row indicating whether a given column contains a date, a number, a string, or anything else.
- Next, choose to publish to a web option from the File menu next to the Sheets home icon, specify a.CSV file,& then click the publish ICON.
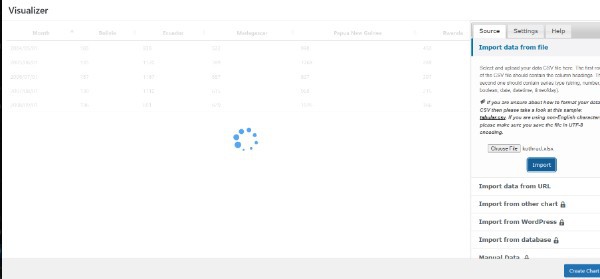
- Copy the URL from their screen but also paste it into the import from CSV button.
- When visitors enter the URL but also click the import button, a ready-made table will appear. Just use the create chart button to save it and the shortcode to publish it on a specific page or post.
Conclusion :-
As a result, we have successfully learned how to insert data into custom table in wordpress.
Custom Post Types but also Custom Taxonomies in WordPress are very flexible, but there are times when you also must utilize Custom Database Tables.
Since reading this guide, you ought to be more knowledgeable about how WPGraphQL manages data and better acquainted with the WPGraphQL APIs for registering object types, connections, and the creation of customized Data Loaders and Connection Resolvers.
I hope this article on WordPress insert data into custom table helps you and the steps and method mentioned above are easy to follow and implement.


