


How To Create Dynamic Header Menu In WordPress
Last Updated : Mar 11, 2024
IN - WordPress | Written & Updated By - Dikshita

In this article we will show you the solution of how to create dynamic header menu in WordPress, all themes have preset locations for displaying a navigation menu. But other than these predefined locations, you are unable to add a menu by default.
Links pointing to significant sections of your website are listed in a navigation menu.
They facilitate the discovery of engaging content by site visitors, which can raise pageviews and lower bounce rates in WordPress.
Depending on your WordPress theme, your menu's precise location may change.
Since most themes have a variety of options, you can create unique menus and display them in various locations.
Simply navigate to Appearance »Menus but also check out the 'Display location' category to learn how to display a food menu to one's current WordPress theme.
However, there are times when you might want to display a menu in a location that isn't on your theme's list of "Display locations."
If you have a block theme,you can use Full Site Editing and also the block editor to add a personalized navigation menu.
More details can be found in our article on the best WP full-site editor themes.
This method does not work with all themes and does not allow you to customize every aspect of the menu.
We advise using just a website builder plugin if you wish to add a totally unique menu to every WordPress theme.
Step By Step Guide On How To Create Dynamic Header Menu In WordPress :-
- Go to Appearance » Editor if you're using a block-based theme.

- This will open the complete site editor that has one of the templates from your active theme already selected.
- Select the arrow inside the toolbar and then choose "Browse all templates" if you wish to add a custom menu bar to a different template.

- A site editor also will display all of the templates that are included with your theme.
- Simply locate the template you want to modify and click the Edit button.

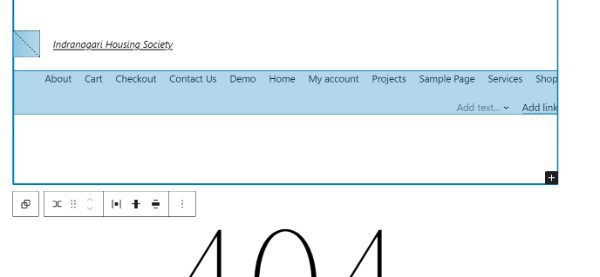
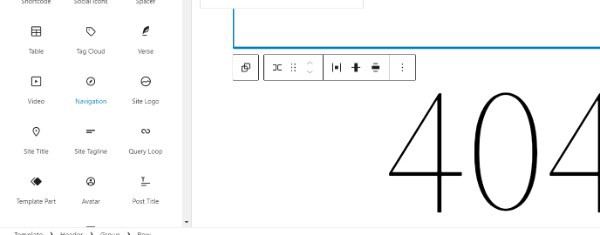
- The next step is to include a Navigation block in the location where your menu will appear.
- Click the blue '+' icon located in the upper-left corner.

- Drag and drop the "Navigation" block onto your layout when it appears.

- Next,click to chose the Navigation block.
- Click "Select Menu" and choose your option from the dropdown if you've created the menu you want to display.
- Another choice is to select "Create new menu" and create a navigation menu within the complete site editor.
- Simply click the "+" icon to add objects to the newly created menu.
- This causes a popup to appear where you can choose whether to have these links access in a new tab or not and add any posts or pages.

- To add so much items to the menu, simply repeat these procedures.
Conclusion :-
A sticky menu, also known as a fixed menu, is a fixed navigation bar that is always present as a user scrolls down and up a website page.
The navigation of your website is greatly facilitated by sticky menu options,which are always available.
Everything about Wordpress was always exciting and useful.
If you own a WordPress-powered website, you're probably familiar with the straightforward and straightforward menu system that comes standard with WordPress.
I hope this article on how to create dynamic header menu in WordPress helps you and the steps and method mentioned above are easy to follow and implement.


